Here is the example of creating our own widget in WordPress back-end. Here is some of steps that helps you to build custom widget.
- Extend your class with WP_Widget
class Custom_Example_Widget extends WP_Widget {

}
- Set up the widget name and description.
public function __construct() {
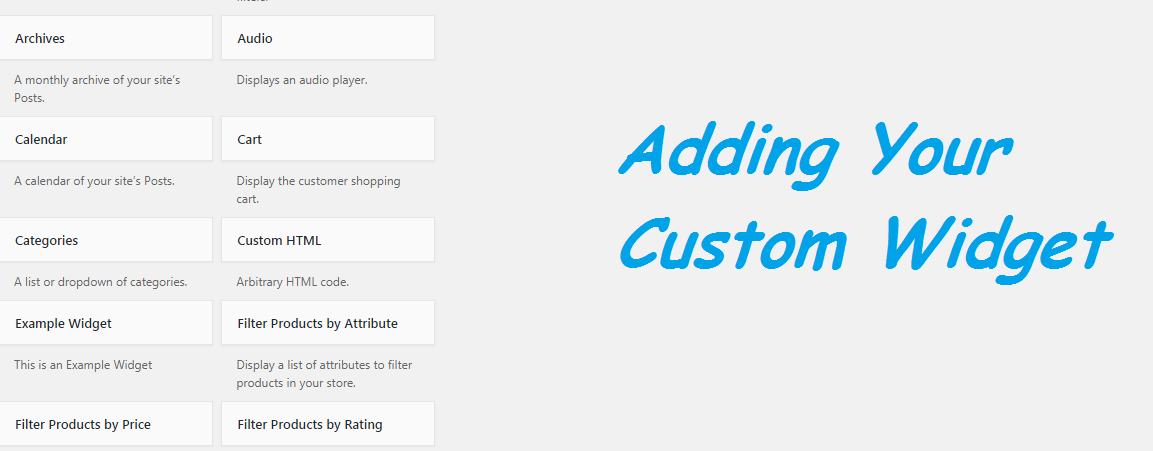
$widget_options = array('classname' => 'example_widget', 'description' => 'This is an Example Widget');
parent::__construct('example_widget', 'Example Widget', $widget_options);
}
- Create the widget output.
 public function widget($args, $instance) {
        $title = apply_filters('widget_title', $instance['title']);
        $blog_title = get_bloginfo('name');
        $tagline = get_bloginfo('description');

        echo $args['before_widget'] . $args['before_title'] . $title . $args['after_title'];
        ?>
        <p><strong>Site Name:</strong> <?php echo $blog_title ?></p>
        <p><strong>Tagline:</strong> <?php echo $tagline ?></p>
        <?php
        echo $args['after_widget'];
    }
- Create the admin area widget settings form.
public function form($instance) {
        $title = !empty($instance['title']) ? $instance['title'] : '';
        ?>
        <p>
            <label for="<?php echo $this->get_field_id('title'); ?>">Title:</label>
            <input type="text" id="<?php echo $this->get_field_id('title'); ?>" name="<?php echo $this->get_field_name('title'); ?>" value="<?php echo esc_attr($title); ?>" />
        </p><?php
    }
- Apply settings to the widget instance.
public function update($new_instance, $old_instance) {
        $instance = $old_instance;
        $instance['title'] = strip_tags($new_instance['title']);
        return $instance;
    }
- Register the widget.
function custom_register_example_widget() {
    register_widget('custom_Example_Widget');
}

add_action('widgets_init', 'custom_register_example_widget');
Download full source code from below.
Download Source Code